How to Master the Squat
Fitness Tips
Mar 19, 2020 • 9min read
Want to get into the best shape of your life? Want to be strong, coordinated, and confident as a boss? Then it’s time to drop it like a squat—literally. Squats are one of the best exercises you can do to develop strength, torch body fat, and improve your balance and flexibility. Best of all, the human body was made to squat. Guess what humans did before chairs were a thing? They squatted.
Worried about your squat technique? You aren’t alone. You were probably a champion squatter as a kid, but a lifetime of sitting in chairs means that most adults have forgotten this powerful skill. However, that doesn’t mean your squatting skills are lost forever. All you need is a squat technique reminder, the right cues, and a little motivation. You bring the attitude for success, and we’ll show you the rest!
Why Squats Are Amazing
The word “amazing” is so overused in our society, but when it comes to squats, the description is apropos. Squats are a foundational movement of fitness. This “compound movement” works some of the biggest muscles in your body, including your glutes, quads, and hamstrings. Squats also activate your core and a variety of stabilizer muscles to help you stay balanced throughout the movement. If you add weight to your squat, either with a barbell or dumbbell, you can invite even more muscles to your squat party, including your shoulders, back, biceps, and more.
By lighting up so many muscles with a single movement, squats help increase your anabolic hormone production. Translated to English, that means your body will burn lots of calories. Your booty is going to look so good in your jeans!
Finally, squatting improves coordination, balance, and flexibility. That improved body awareness can help you move more confidently through the rest of your life.
How to Do a Squat
Before we walk you through how to squat, let’s first review what a perfect squat looks like. This is what you’re shooting for:
- Start with your feet shoulder-width apart and turned slightly outward.
- Take a deep breath and breathe into your stomach. Tighten your core.
- Push your butt back and begin bending your knees.
- Keep your chest up and your spine neutral as you continue sending your butt and hips back.
- Center your weight in the balls and heels of your feet.
- Keep going down until your hips are “below parallel,” meaning your hips are lower than your knees.
- Pushing your knees out, explode back up into a standing position.
It sounds easy enough, but proper squat technique can be more difficult to develop than many people realize. Many exercisers perform squats incorrectly, which is a BIG problem. Once you start piling weight onto your barbell, poor squat form can put you at risk of an injury. That’s not meant to scare you—it’s meant to hammer home that working on your squat technique is worth the time and effort.
Most Common Squat Mistakes
On that note, let’s look at some of the most common squat mistakes new exercisers make.
Chest down
Sitting back into a squat can feel uncomfortable. Many new exercisers worry about falling backward. To compensate, they shove their chest forward and stick out their butt. To avoid this, try to keep your chest upright as you squat. Your chest will come forward a little, but if your chest is practically touching your knees, you have a problem. Tight hip flexors can also cause your chest to come forward.
Rounded back
The most dangerous squatting mistake you can make is to round your back. This is especially common when beginners try to squat with more weight than is safe or smart. Keep your spine neutral throughout your squat. If your back starts to round, you’re using too much weight. Lighten your load.
Knees coming in
It’s important to push your knees out as you squat, especially as you rise up so you give your hips space to come through. This won’t be much of a problem during air squats, but pushing your knees out is critical when the barbell gets heavy. Learning the technique now will save you lots of frustration when you begin squatting with weight. If you struggle with pushing your knees out, you may have tight hips or ankles.
Also, keep in mind that you should not lock your knees—you want to keep the movement as fluid as possible, and locking your knees will cause stress to the joints and not allow you to push through the muscles you should be using (glutes, quads, and hamstrings).
Weight coming forward
If your chest is coming down and your back is rounding during your squat, chances are your weight is on the front of your feet. Remember to set your hips and butt back and to make sure your weight is evenly distributed between the balls of your feet and your heels. A great way to test your foot position is to try and wiggle your toes at the bottom of the squat. If you can, great! If you can’t, then you’re almost certainly too far forward. If you have trouble keeping your weight in your heels, you may have tight ankles.
Head down or up
Look forward during your squat. If your face is pointed down, that’s a cue for your chest to come forward and your back to round. Looking into the sky is a dangerous position for your spine. Find a point on the wall straight ahead of you and keep your eyes locked on that point while you squat.
(Here’s a good lesson on why it’s essential to have good form on your exercise reps.)
How to Learn to Squat
Almost anyone can learn how to squat. If you worry about falling over or can’t seem to hit parallel (much less below parallel), don’t worry. These tried-and-true steps have helped countless people become squat masters.
Step One: Squat with a pole
One of the hardest parts of learning proper squat technique is simply figuring out how to put your hips and butt back without throwing your chest forward. To start learning, hold onto a pole or a sturdy piece of equipment as you squat down to help you maintain your balance. (A squat rig is perfect for this.) You can hold the pole with both hands, or, as your comfort level grows, one hand.
As you squat, really focus on keeping your chest up and sitting back. Feel the weight in your heels. Remember to push those knees out, too and to keep your head neutral. Stay in the bottom of the squat for three seconds to start to familiarize yourself with the feeling of going full depth.
Try 10 sets of 10 pole squats until you feel comfortable with the movement.
Step Two: Squat to a box
Once you feel comfortable with the pole squat technique, it’s time to work on your squat balance. A great way to train your brain to feel comfortable sitting back is to squat to a box or low chair. At your gym, find a box that will let you squat close to parallel. Now, position the box behind you and lower yourself down. As soon as you feel the box under you, push those knees out and stand up. Make sure you don’t fully sit on the box and let your muscles relax.
If squatting to a box is too hard, use a taller chair or box.
Try 10 sets of 10 box squats until you feel comfortable.
Step Three: Air squats
Time to take the training wheels off. Start working on full air squats without assistance. (It may help to perform a set of pole squats followed by a set of box squats before moving to air squats.) Remember all your cues: Chest up. Knees out. Weight evenly distributed in your feet. Spine neutral. Gaze ahead.
One more thing: Get down. Many new exercisers don’t squat below parallel. Make sure that you do.
If you have trouble with the squat technique, one of the best things you can do is to record yourself. Watch the video and pinpoint any issues with your squat. This will also help you see if you’re going below parallel.
Step Four: Just add weights
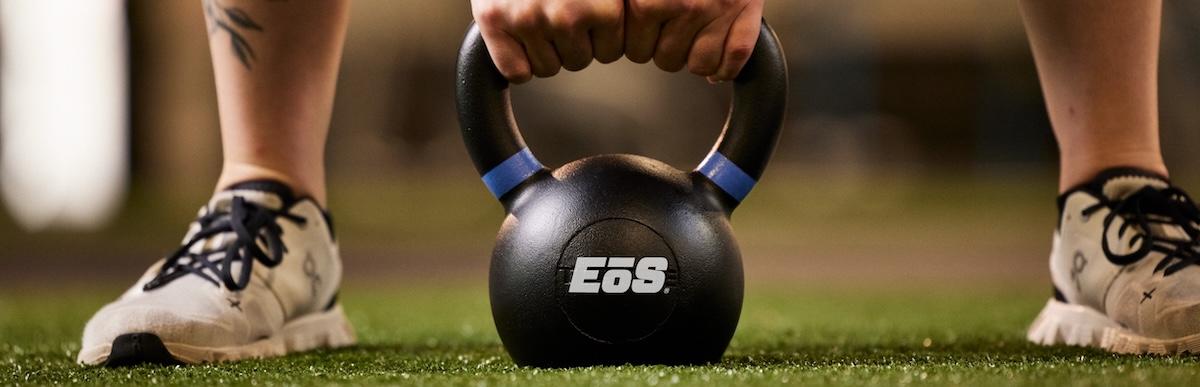
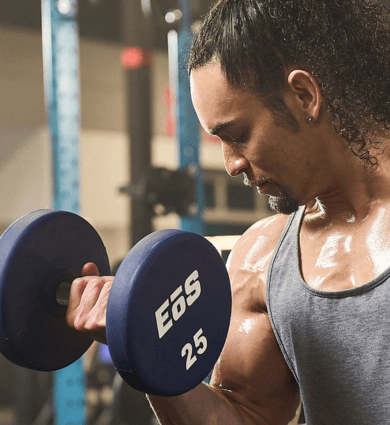
If your air squats are perfect, then it’s time to add weight and learn how you squat under pressure. The best way to start is with light dumbbells or a kettlebell. You can squat holding a dumbbell or kettlebell to your chest, holding two dumbbells in the front rack position, or holding a dumbbell on each shoulder.
As soon as you add weight, you’ll notice that proper squat technique gets a little harder. You’ll need to work to keep your chest up, push those knees out, and keep from going forward on your toes. Move slowly and steadily as you go down and try to explode back up.
Step Five: Add more weight
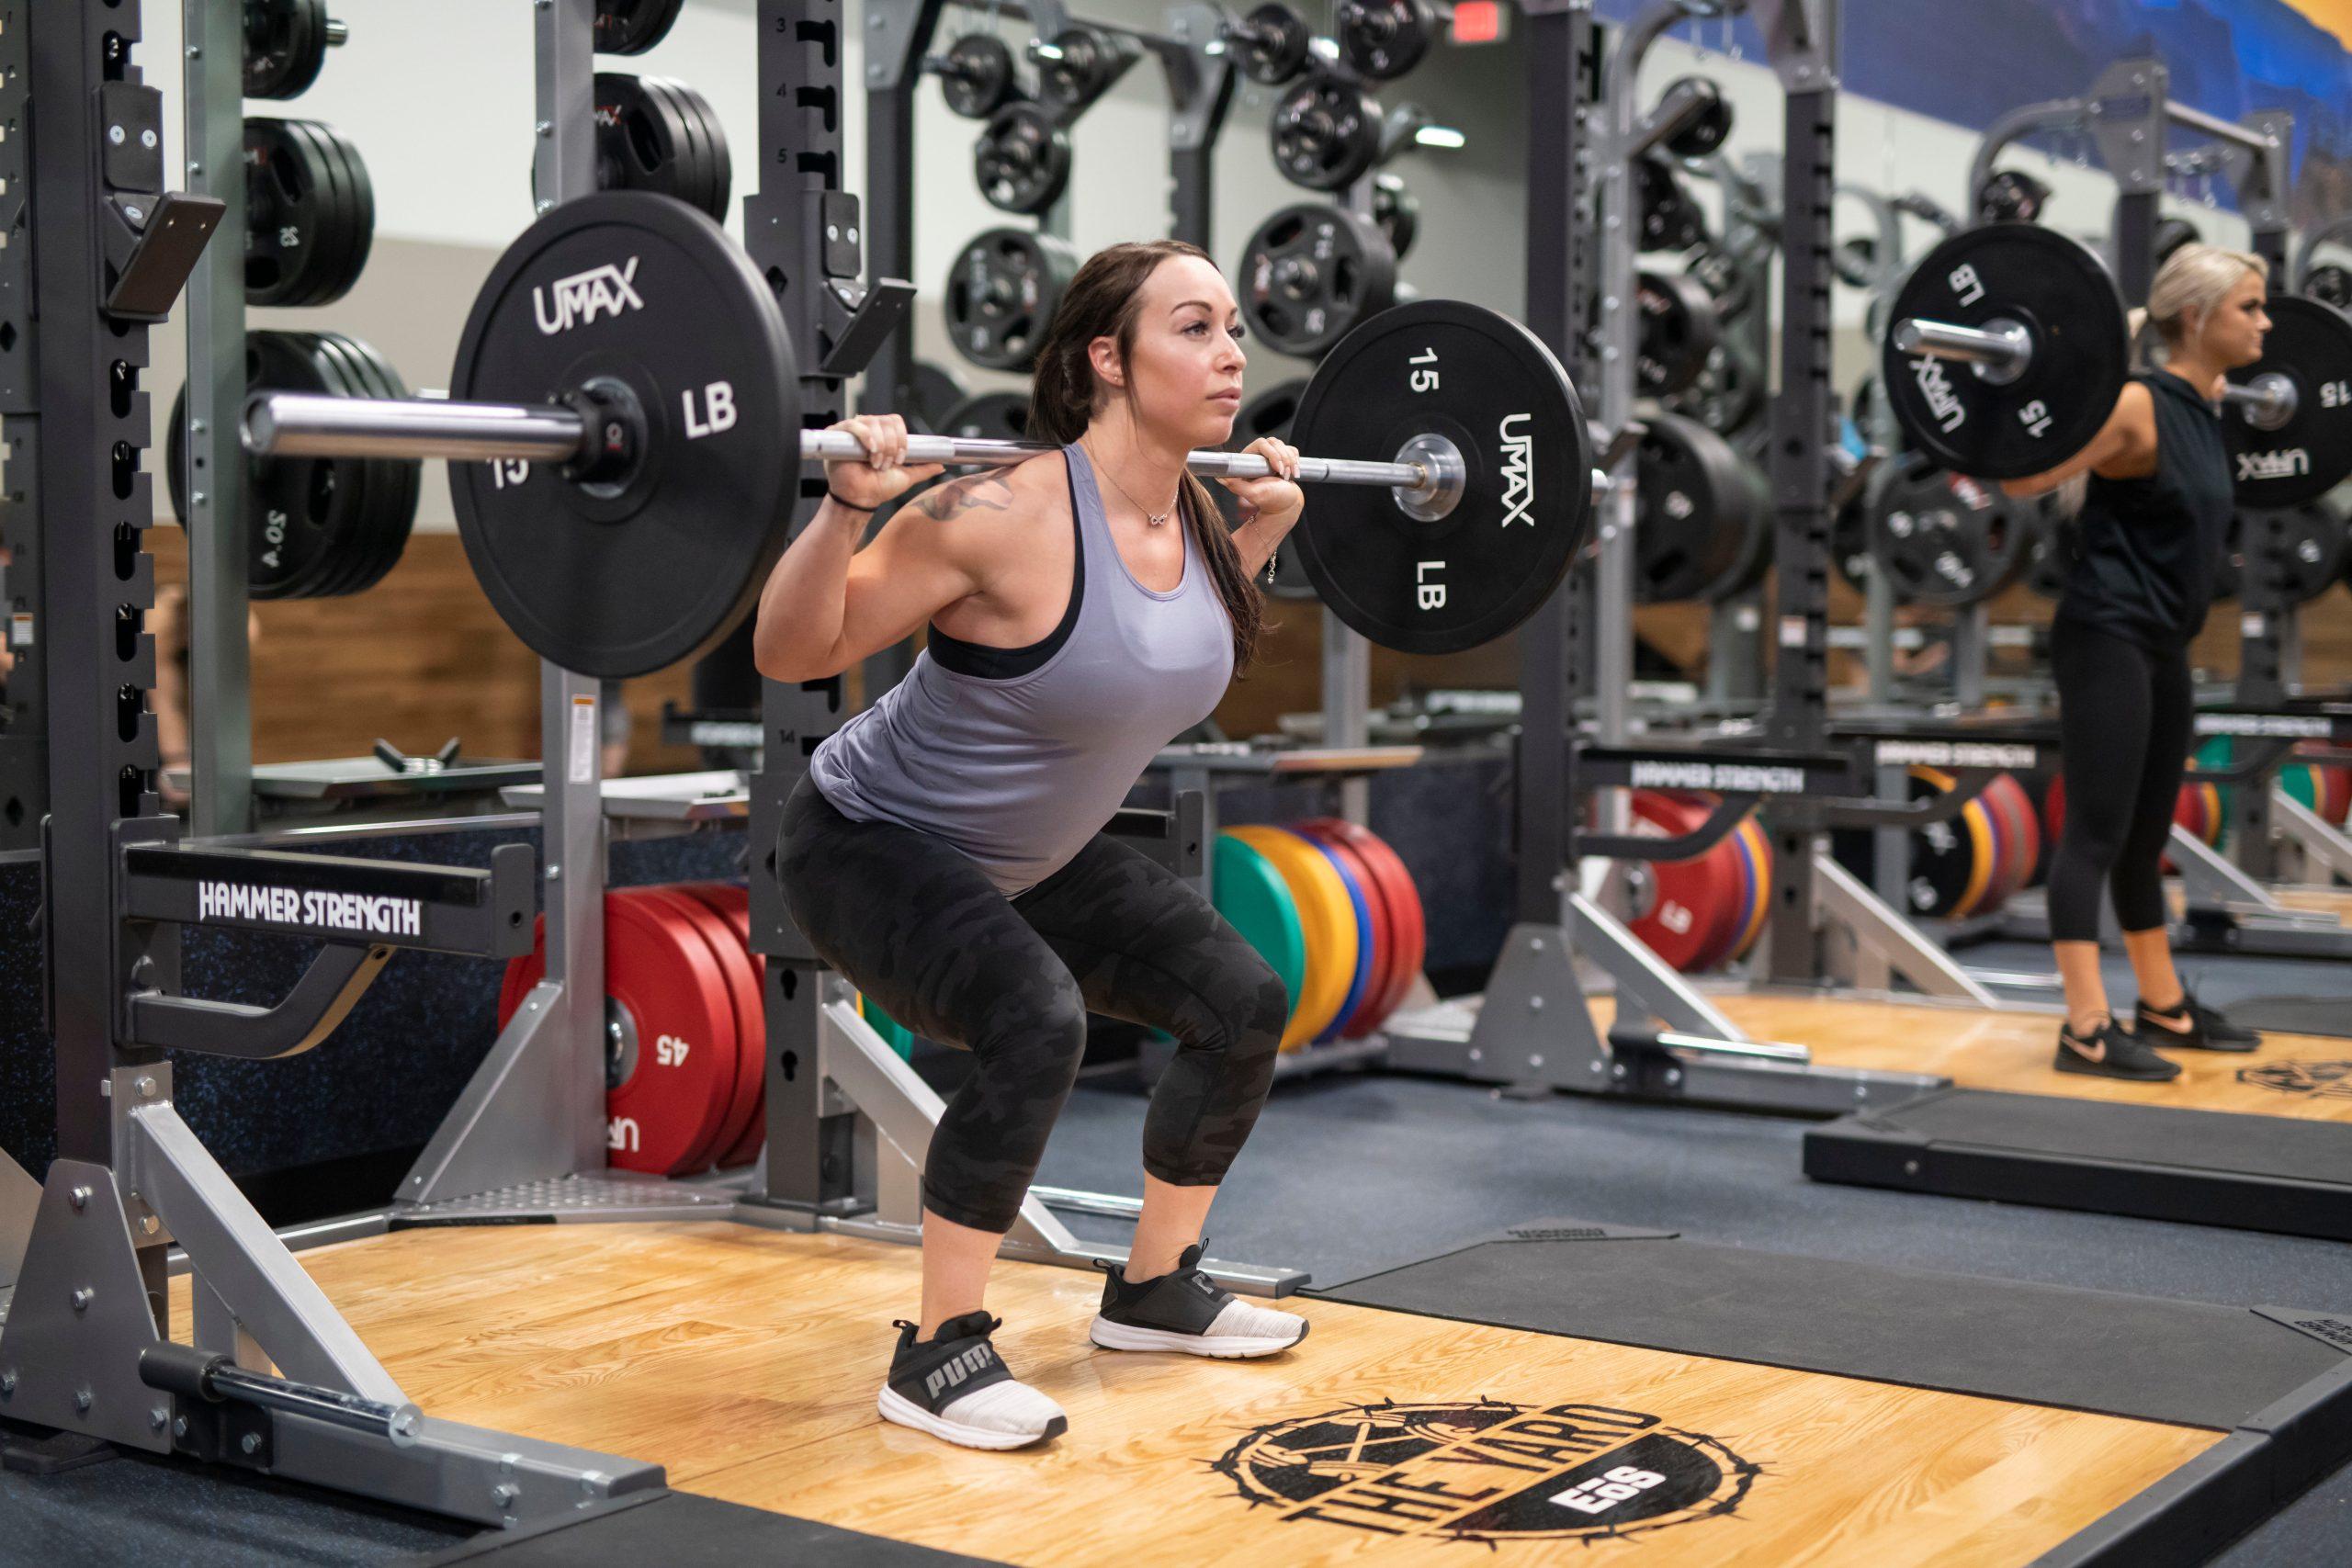
Finally, it’s time to say hello to a barbell. Ideally, you want to gain access to a barbell and barbell rack. For most exercisers, this means joining a gym. Take the time to learn how to move the barbell supports (J-hooks) up and down the rig so you can set the barbell at the right height. You’ll want to be able to walk with the bar right into the rack and then let the bar drop into the supports.
When squatting with a barbell, start with just the bar and work on technique. We recommend practicing un-racking and racking the bar a few times until you are comfortable with the process. You don’t want to struggle to put a heavy bar back on the rack or miss the supports!
When performing a back squat, try to keep your hands just outside your shoulders. Rest the barbell along the meaty part of your back just below your shoulders (known as the “low” position). Really focus on keeping your chest upright. As the weight gets heavier, your chest will want to come down. Taking a deep breath into your stomach can help you keep your core tight and your chest up.
For proper front squat technique, keep your hands in line with your shoulders when you pick up the bar and try to keep your elbows up. Engage your shoulders and pecs throughout the movement and keep that chest up. If you have trouble keeping your elbows up, you may need to work on wrist and shoulder mobility.
As you begin to put weight on your barbell, it’s important that you feel comfortable dumping the weight (known as “bailing”). That means letting the barbell roll off your back during a back squat or dropping it forward during a front squat. As weird as it sounds, it’s worth a little time to practice bailing the weight. This way, you’ll never get stuck in the bottom of a squat with a heavy barbell on top of you.
Once you feel comfortable with the barbell, slowly begin adding weight. If your form starts to break down, stay at that weight or go down a little until you can squat the weight with good form. Keep recording yourself—sometimes a squat can feel good but a video will show you major problems.
Once you feel comfortable squatting at a moderate weight, try a 5 x 5 rep scheme. That means performing five sets of five reps at a moderate-to-heavy weight. If your goal is to increase strength, you may want to eventually move to a 3 x 3 rep scheme with a heavy load on the barbell. (Here are five other things you need to know to grow the largest muscles in the body.)
There, that wasn’t so bad, was it? You now have all the squat technique information you need to learn how to do beautiful, powerful squats. Once you add regular squatting into your fitness routine, your body will transform into a lean, mean machine. If you still need a little help getting started, consider hiring a personal trainer who can give you squat cues and make sure you squat safely.
Happy squatting!